Preserving Seasonal Fruits and Vegetables Through Home Canning

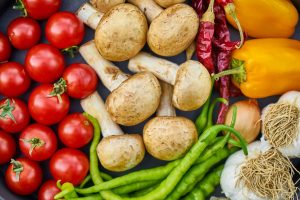
Preserving seasonal fruits and vegetables through home canning is not just a way to save money and reduce food waste, but it is also a great way to enjoy the flavors of your favorite produce all year round. While the thought of canning may seem daunting for some, it is actually a simple and safe process that anyone can do at home with the right tools and techniques. In this article, we will discuss the benefits of home canning, the necessary equipment and steps, and some delicious recipes to get you started on your canning journey.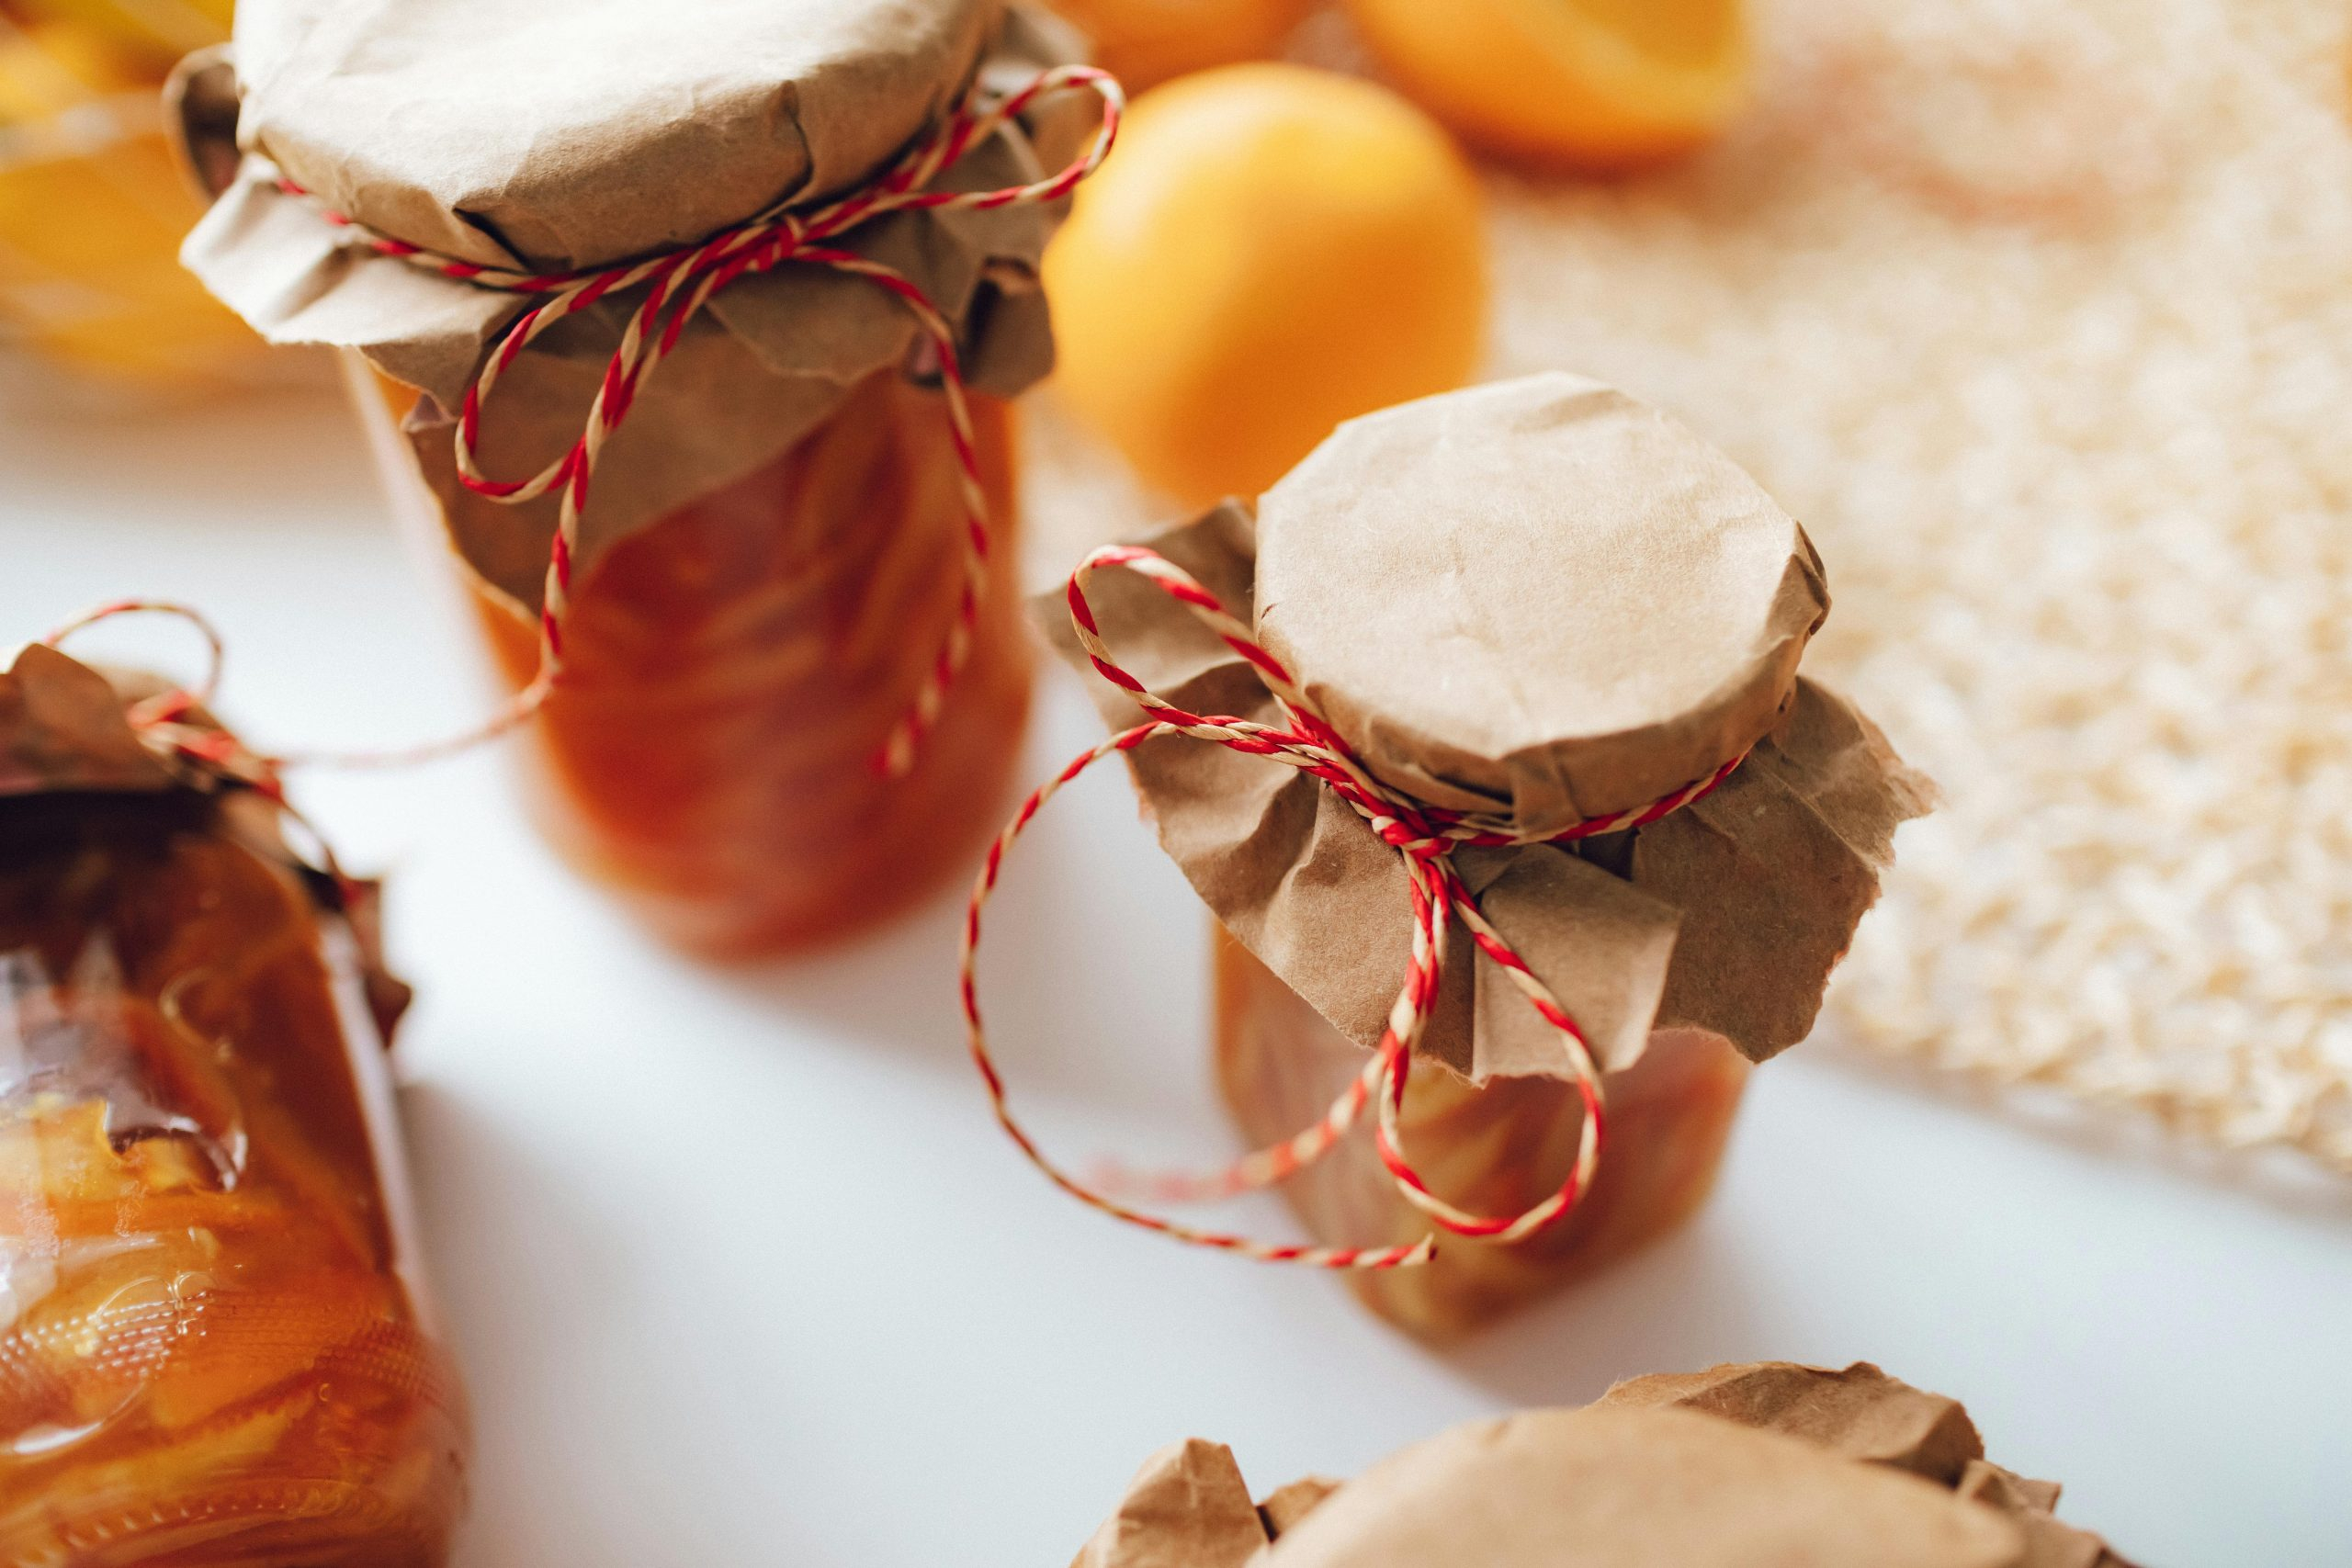
The Benefits of Home Canning
Canning has been a popular method of food preservation for centuries, and for good reason. Here are some of the benefits of home canning:
1. Saves Money
Buying fruits and vegetables in bulk when they are in season is usually more cost-effective. By preserving them through canning, you will have a supply of fresh produce throughout the year without having to pay premium prices for out-of-season produce.
2. Reduces Food Waste
According to the Food and Agricultural Organization of the United Nations, approximately one-third of all food produced in the world is wasted. Canning allows you to use up excess produce that may otherwise go to waste due to spoilage.
3. Preserve Nutritional Value
Home canning allows you to preserve the nutritional value of seasonal fruits and vegetables, as you are in control of the ingredients and cooking process. This means you can avoid using preservatives and excessive amounts of salt or sugar often found in store-bought canned produce.
4. Customize Flavors
When you can your own produce, you have the freedom to customize flavors to your liking. Whether you prefer a sweeter or tangier taste, you can adjust the ingredients and spices to match your taste preferences.
The Equipment and Steps for Home Canning
Before you begin the canning process, it is important to have the right equipment. Here are the essentials:
1. Canning Jars
Canning jars come in different sizes, but the most commonly used size is the pint (16 oz) or quart (32 oz) jar. These jars are specifically designed for canning and have a two-piece lid consisting of a flat metal disc and a screw band. You can reuse your jars as long as they are in good condition.
2. Canner
A canner is a large pot with a lid and a rack at the bottom to hold the jars off the bottom of the pot. You can use any large pot as long as it can hold enough water to cover the jars by at least one inch.
3. Canning Tools
There are a few essential tools that will make the canning process easier and safer, including a jar lifter, a canning funnel, and a lid lifter. These tools can be purchased as a set or individually.
4. The Canning Process
Here are the basic steps for home canning:
Step 1: Prepare the Jars
Wash your jars and lids with hot soapy water and rinse them thoroughly. Place the jars in the canner and cover them with water. Bring the water to a boil and let them simmer until ready for use.
Step 2: Prepare the Produce
Wash and prepare your produce according to your recipe. Some fruits and vegetables may need to be peeled, seeded, or pitted before canning.
Step 3: Sterilize and Heat the Lids
Place the lids in a pot of simmering water. Do not boil them as this can damage the seal. Keep them in the hot water until ready for use.
Step 4: Fill the Jars
Using a canning funnel, fill the jars with the prepared produce. Leave about 1/2 inch of space between the top of the jar and the lid.
Step 5: Remove Air Bubbles
After filling the jars, run a spatula or non-metallic utensil between the inside of the jar and the food to remove any air bubbles.
Step 6: Seal and Process
Wipe the rims of the jars to remove any spills or food particles. Place the lid on top and screw on the band to fingertip tightness. Place the jars back in the canner and cover them with at least one inch of water. Process according to your recipe’s instructions.
Delicious Canning Recipes
1. Strawberry Jam
Ingredients:
– 4 cups of strawberries (halved and hulled)
– 1 1/4 cups of white sugar
– 1/4 cup of lemon juice
Instructions:
1. In a large saucepan, add the strawberries, sugar, and lemon juice over medium heat. Cook, stirring occasionally, until the sugar has completely dissolved.
2. Increase the heat to medium-high and bring the mixture to a boil. Use a spoon to skim off any foam that forms on the top.
3. Continue to boil until the jam is thickened, about 20-25 minutes.
4. Ladle the hot jam into sterilized jars and follow the canning process as described above.
5. Let the jars cool completely before storing them in a cool, dark place.
2. Spicy Pickled Green Beans
Ingredients:
– 1 pound of green beans (trimmed)
– 2 cups of white vinegar
– 1/2 cup of water
– 2 teaspoons of salt
– 2 cloves of garlic (peeled and halved)
– 1 teaspoon of black peppercorns
– 1/2 teaspoon of crushed red pepper flakes
Instructions:
1. In a saucepan, combine the vinegar, water, salt, garlic cloves, black peppercorns, and crushed red pepper flakes. Bring the mixture to a boil, stirring to dissolve the salt.
2. Trim the beans to fit into pint jars and pack them into the jars, standing them upright.
3. Pour the hot pickling liquid over the beans, leaving a 1/2 inch of headspace. Use a knife to remove any air bubbles.
4. Follow the canning process as described above.
5. Store the pickled beans in a cool, dark place for at least two weeks before opening for optimal flavor.
Preserving seasonal fruits and vegetables through home canning provides a sense of pride and accomplishment in using your own produce and knowing exactly what goes into your food. With the right equipment and techniques, you can enjoy your favorite seasonal flavors all year round. So why not give it a try and start canning today?